Stop Bathroom Grime Before It Spreads
Bathroom tile and grout can go from bright and fresh to dingy and stained faster than many homeowners expect. When that grime includes mold, it is not just a cosmetic issue; it can affect indoor air quality, trigger allergies, and slowly damage surfaces used every day. Left alone, dirty grout and bathroom mold can even hurt the overall feel and value of a home.
Many households struggle with the same recurring problems: stained grout, slick soap scum on floors, mildew creeping into corners, and mold that keeps returning after a quick wipe. With the right approach, those problems can be controlled.
This guide walks through safe tile cleaning in bathrooms, when DIY efforts make sense, when it is time to bring in professional help, and how to keep mold and grime from coming back. The goal is to help protect the home, health, and time with smart, practical steps that really work.
What Is Lurking in Your Tile and Grout?
Grout looks hard and solid, but it is actually porous. Those tiny pores soak up moisture, soap residue, body oils, and everything that rinses off skin and hair. Over time, all that material settles in and becomes a food source for bacteria, mildew, and mold.
It helps to know what you are dealing with, because not all discoloration is the same thing:
• Surface dirt: Dust, soap scum, and everyday grime that usually wipes away with regular cleaning.
• Deep-set staining: Pigments and residue that have soaked into grout pores and need stronger methods or specialized tools.
• Mildew: Usually gray or light brown, often on surface layers, with a mild musty odor.
• Mold: Often darker spots or patches, can be green, black, or brown, and may come with stronger odors and potential health symptoms.
Bathrooms give these contaminants perfect conditions to thrive. Shower floors and walls are common trouble areas, especially corners and niches where water lingers. Buildup also tends to appear along tub surrounds where caulk and grout meet the tub edge, on floors in front of the shower and vanity where wet feet drip, and around toilets where moisture, cleaning products, and organic matter collect.
Some situations make buildup happen faster. Older homes with original tile and grout may have lost their protective seal, allowing moisture and residue to sink in more quickly. Bathrooms with limited ventilation, such as small windows or weak exhaust fans, also stay damp longer. Likewise, spaces where showers are used multiple times a day may not have enough time to dry between uses. Harvard researchers emphasize the importance of ventilation in preventing mold in high-moisture areas like bathrooms.
When it is clear how quickly moisture and residue sink into porous grout, it is easier to see why regular surface wiping is not always enough.
Safe Tile Cleaning in Bathrooms
It can be tempting to reach for the strongest cleaner available and the stiffest brush in the closet. The problem is that harsh chemicals and aggressive tools can etch tile, scratch finishes, and weaken grout. Mixing products, especially bleach and ammonia, can release dangerous fumes that irritate eyes and lungs or worse.
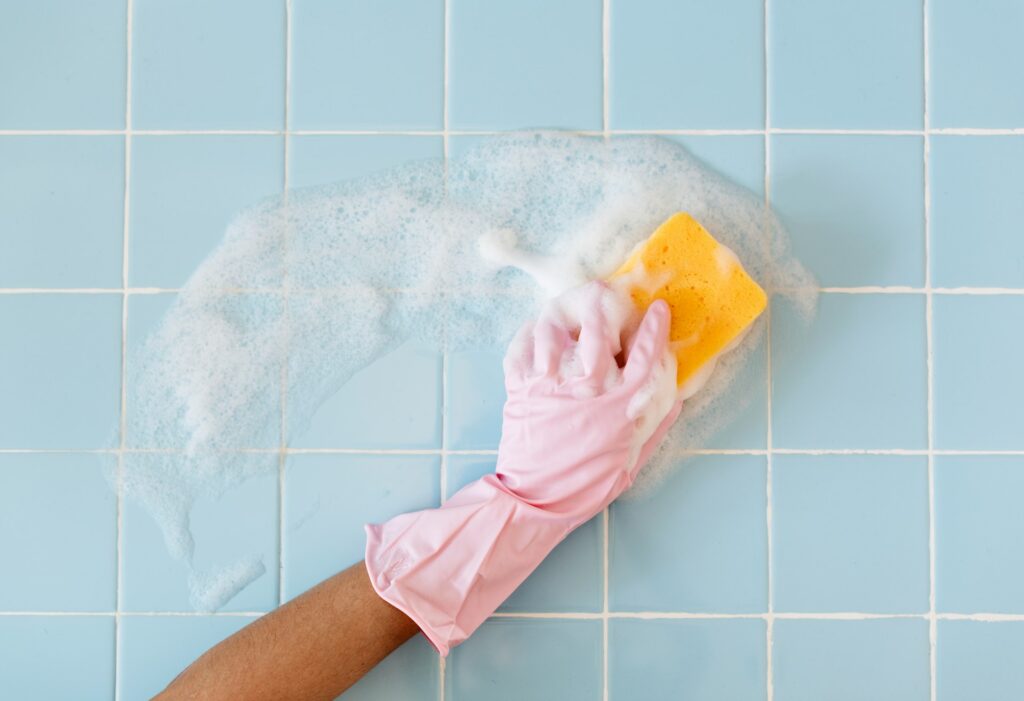
Safe tile cleaning starts with the right process and products. Here is a simple step-by-step routine for most ceramic or porcelain tile:
• Step 1: Dry prep. Vacuum or sweep to remove loose hair, dust, and grit. This keeps debris from scratching surfaces during scrubbing.
• Step 2: Pre-spray. Apply a pH-neutral tile and grout cleaner, focusing on stained areas and corners where grime collects.
• Step 3: Dwell time. Let the cleaner sit for several minutes so it can break down soap scum and oils. Do not let it dry out.
• Step 4: Gentle scrub. Use a soft or medium-bristle brush, not steel wool or wire, to agitate grout lines and textured tile.
• Step 5: Rinse and dry. Rinse with clean water, then dry with microfiber towels to help prevent new water spots and streaks.
For most homeowners, it is generally recommended to stick with tile-safe basics that clean effectively without damaging finishes or grout. That usually means choosing pH-neutral, tile-safe cleaners instead of heavy acids or straight bleach, and using soft or medium nylon brushes for grout (plus small detailing brushes for corners). Microfiber cloths and mops help capture residue rather than pushing it around, and a simple spray bottle with diluted cleaner can make quick touchups easier during the week.
DIY cleaning is usually enough when grout discoloration is light to moderate, there is no strong musty smell, and surfaces feel clean (not sticky or slimy) after scrubbing. If staining does not improve after several careful cleanings, floors or walls still smell musty once they are dry, grout has several shades of discoloration or looks patchy, or buildup can still be felt even after scrubbing (especially on textured tile), professional tile cleaning is often worth considering.
Bathroom Mold Removal Without Damaging Surfaces
Mold is a type of fungus that grows wherever moisture and organic material are available. Bathrooms supply both, with frequent steam, condensation, and constant water use. Signs of mold problems can include allergy-style symptoms, irritated sinuses, headaches, or a musty odor that lingers even after cleaning. Mayo Clinic notes that mold spores commonly found in bathrooms can trigger asthma and allergy symptoms.
For small, surface-level mold spots on hard, nonporous surfaces, careful DIY work can be effective. A cautious approach includes:
• Personal protection: Wear gloves, eye protection, and at least a basic mask. Even minor mold cleanup can release spores into the air.
• Ventilation: Run the exhaust fan and, if possible, open a window to move air and help spaces dry more quickly.
• Containment: Avoid vigorous dry scrubbing that sends spores airborne. Work gently and wipe, rather than flick or scrape.
• Cleaning solution: Use a cleaner labeled for mold or a mild disinfecting solution appropriate for the surface being treated.
• Thorough drying: Once clean, dry the area completely and keep it as dry as possible for the next day or two.
There are clear limits on what should be handled as a DIY project. It is generally not recommended to attempt to clean mold on:
• Drywall or painted walls that are soft, bubbling, or crumbling.
• Areas where mold may be behind tile, under flooring, or inside wall cavities.
• Bathrooms with very strong musty odors that never seem to go away.
• Spots that return quickly after each cleaning, even when ventilation is improved.
Professional mold remediation is different from simple cleaning because it focuses on the full scope of the problem, not just what is visible on the surface. That typically includes inspecting the area to understand how far moisture and mold have spread, using moisture detection to find hidden damp spots that may be feeding growth, and choosing cleaning methods and products that match the material, from tile and grout to subfloor or backing surfaces. It also involves addressing underlying moisture problems so the same mold does not return repeatedly.
Keeping Tile and Grout Clean for the Long Term
Once tile and grout are truly clean, protecting that fresh surface is the next step. Unsealed or worn grout soaks up new spills and moisture quickly, which means staining and mold can come back just as fast. After a deep cleaning, sealing grout can make a noticeable difference in how easily it stays clean.
Good long-term care usually includes:
• Grout sealing: Apply a quality grout sealer after a deep clean, following label directions. Periodic resealing helps maintain that protective barrier.
• Gentle products: Stick with pH-neutral or surface-safe cleaners to avoid breaking down sealer or grout.
Daily and weekly habits help more than any single deep clean. Squeegeeing or wiping shower walls and glass after use removes excess water before it can settle into grout lines. Bath mats should be used and then quickly hung to dry instead of being left soaked on the floor. It also helps to do a quick wipe-down of corners, niches, and around fixtures once or twice a week, and to spot clean drips and splashes so they do not have time to soak into grout lines.
Moisture control is just as important as scrubbing. For many bathrooms, that means:
• Running the exhaust fan during showers and for at least 15 to 20 minutes afterward.
• Opening windows when the weather allows to help steam escape.
• Using a small dehumidifier in especially damp spaces.
• Fixing leaks from faucets, showerheads, or toilets as soon as they are noticed.
Even with good habits, some warning signs suggest it might be time for professional help:
• Recurring mold patches in the same areas, especially corners or ceiling edges.
• Crumbling, cracked, or missing grout lines that never look fully clean.
• Discoloration that does not lighten after careful cleaning and drying.
• Persistent odors that linger even when the room appears spotless.
When to Consider Professional Help
Tile and grout strongly influence how clean and comfortable a bathroom feels. Professional tile cleaning can restore stained floors and walls to a brighter, more uniform appearance, and that deep cleaning often lasts longer than repeated DIY scrubbing. It can also save time and effort, especially in larger bathrooms or in homes with multiple tiled spaces.
When mold becomes part of the picture, safe, professional methods matter even more. By combining inspection, moisture awareness, and appropriate cleaning techniques, professionals can help keep bathrooms fresher, healthier, and easier to maintain over the long term.
Get Started With Your Project Today
If you are ready for floors that look freshly installed, GreenStar HomePro is here to help. Explore our professional tile cleaning in Inverness and let our team handle the tough buildup for you. We will walk you through options, provide a clear quote, and schedule service at a time that works for your household. Have questions or need a custom request addressed before booking? Simply contact us and we will respond promptly.